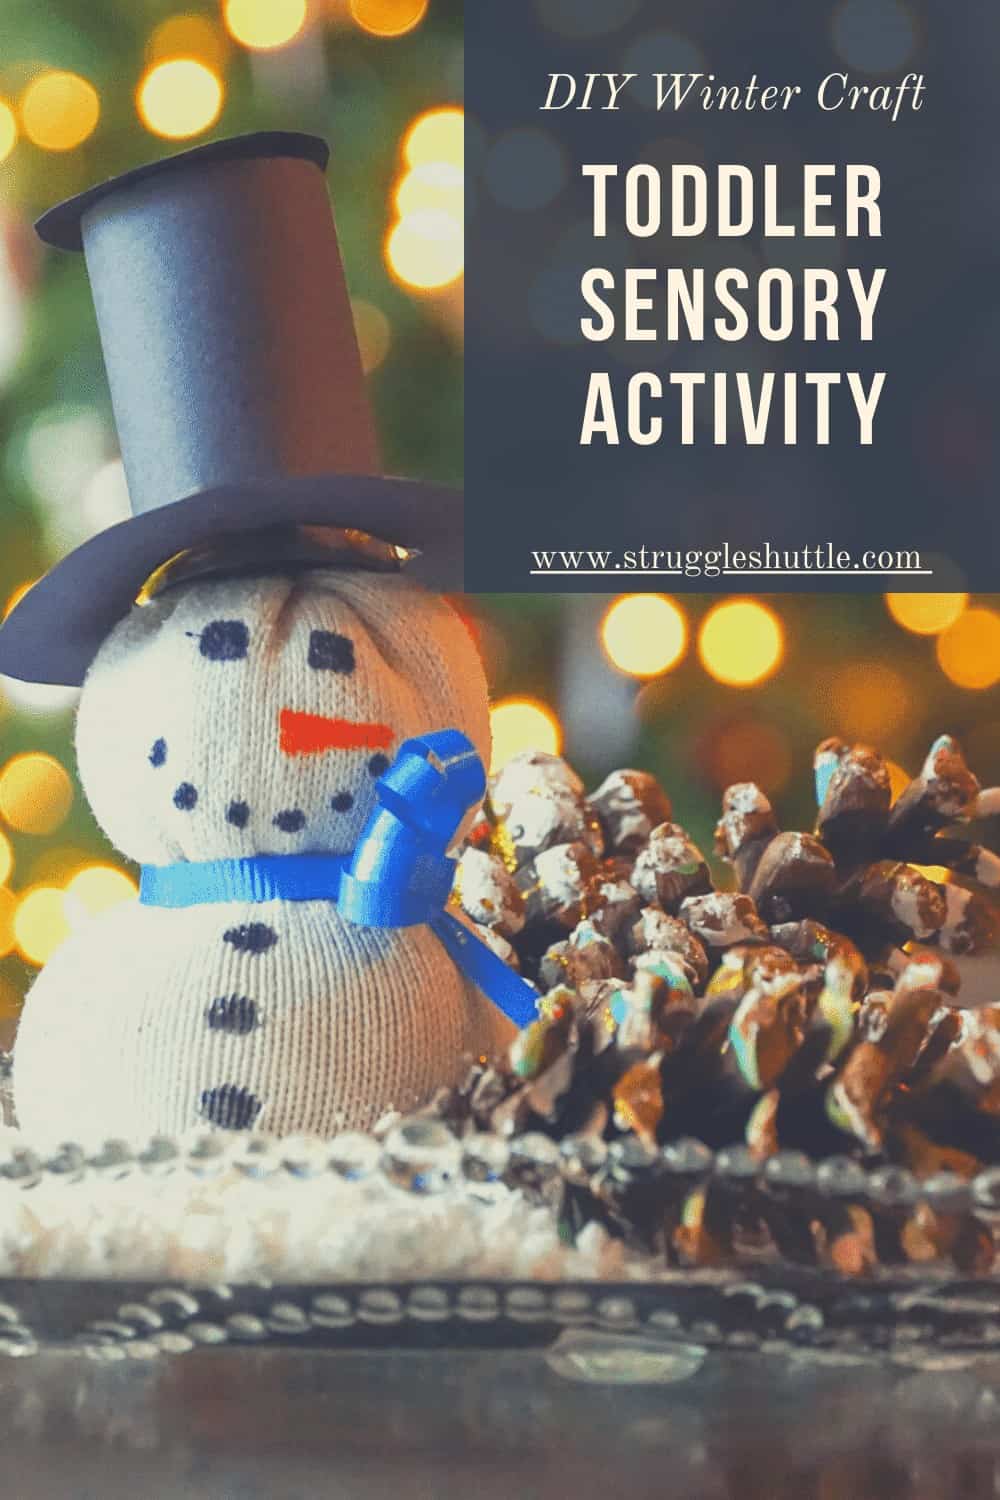
DIY Winter Craft | Toddler Sensory Activity
You may know by now, from my article, 8 Activities for Kids of Highly Efficient Moms, that I am all about combo activities! Two birds with one stone is a phrase that I tend to live by as a mom with two young children. Last week, as I started to put out all of our winter décor I realized that I really didn’t have very much. I had a lot for Christmas, but not a lot for winter in general. And I don’t know about you, but this year especially I have felt the need for home décor! Maybe that’s because we are having to spend all our time in our homes this year! So I decided to come up with one. And, as always, I had to make sure that my toddler could help and that it would include a learning experience/activity for her. This simple, but stunning winter craft is not only easy enough for your toddler to help make, but it also includes several sensory activities!
DIY Winter Craft & Toddler Sensory Activities
What you’ll need:
- 1 Old White Sock
- Sharpie
- Orange Marker
- Ribbon
- Scissors
- Rice
- 2 Rubber Bands
- Black Construction Paper
- Glue
- Pinecones
- Acrylic Paint (any color: white if you want to look like snow)
- Glitter Glue/Paint (optional)
- Parchment Paper
- Baking Soda
- Shaving Cream
- Essential Oils (suggested Tea Tree and Peppermint)
- Decorative Plate/Bowl
Instructions for Toddler Sensory Craft:
1. Frost your Pinecones.
Turn oven onto 300F. Line a baking sheet with parchment paper. Mix white paint and glitter glue on a paper plate/wax paper. Have toddler roll the pinecone in the mixture until the tips of the pinecone are covered in paint. Place painted pinecones on baking sheet and sprinkle with Tea Tree Essential Oil. Bake for 5 minutes or until the paint is dry. **This sensory activity will allow your toddler to feel the different shapes and textures of the paint/glue/pinecone. It is also a dexterity activity having them rolling the pinecone.**
PRO TIP: Searching for pinecones before this craft can make for a fun adventure for your toddler as well as a workout for mom!
2. Fill your Snowman.
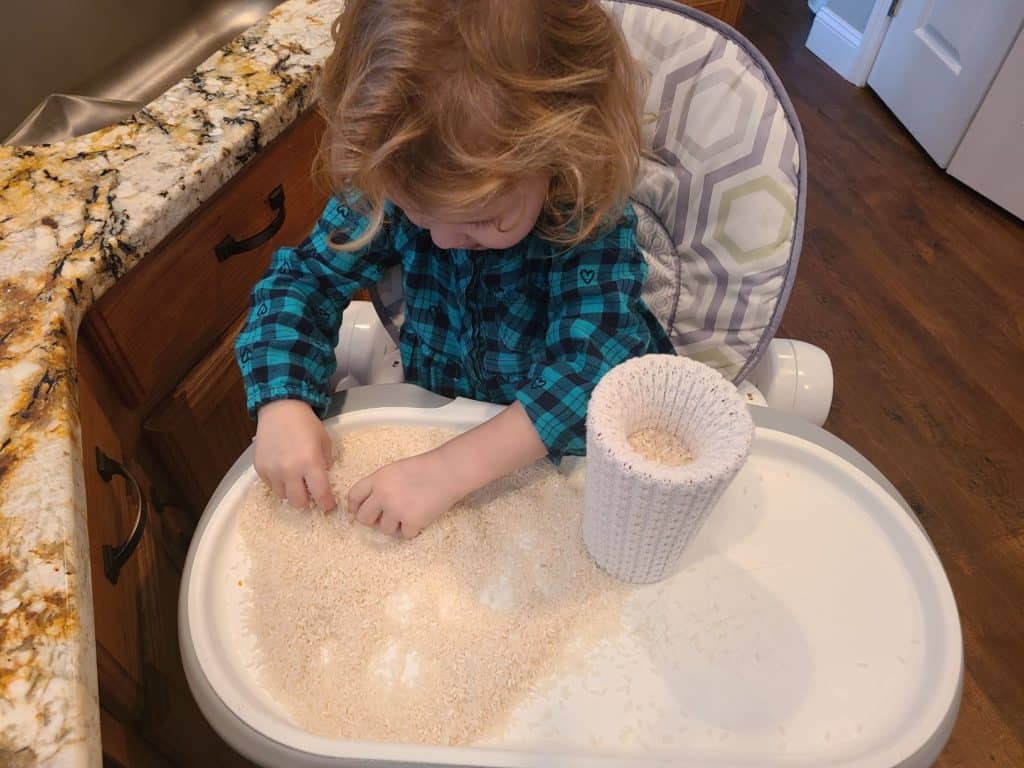
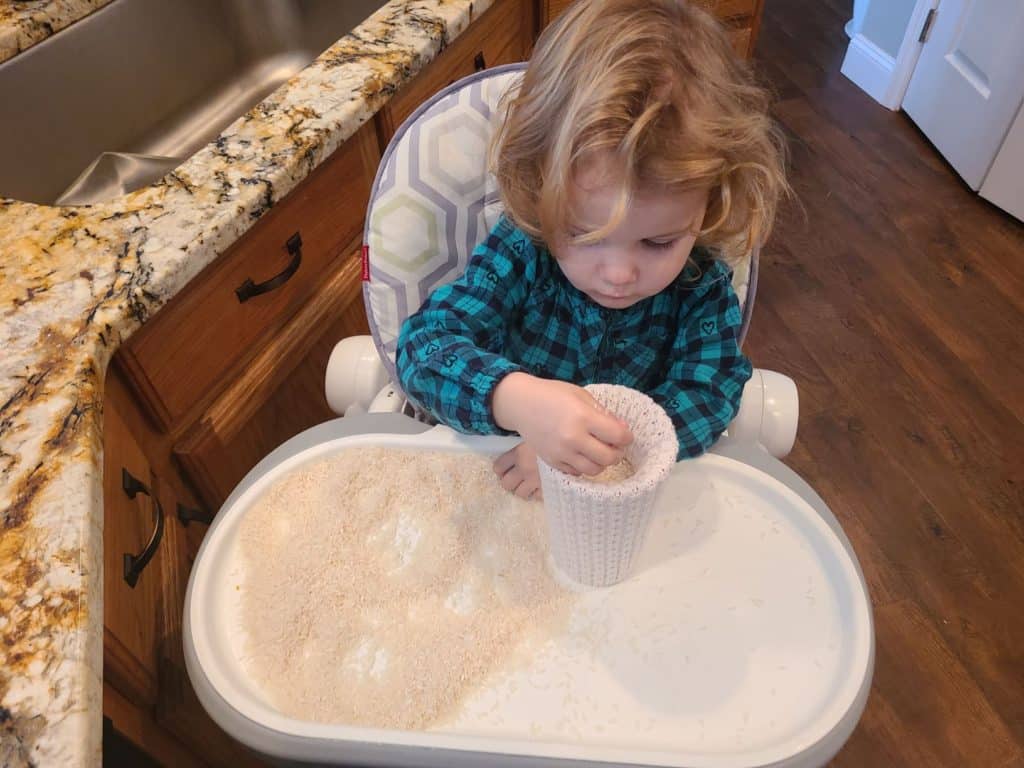
Fold the old sock over a tall cup. Pour rice on the table top in front of your toddler. Allow them to play in the rice grains as they fill the cup/sock up with it in this sensory activity. Once full, remove from cup and tie closed with a rubber band and cut off remaining sock.
3. Personalize your Snowman.
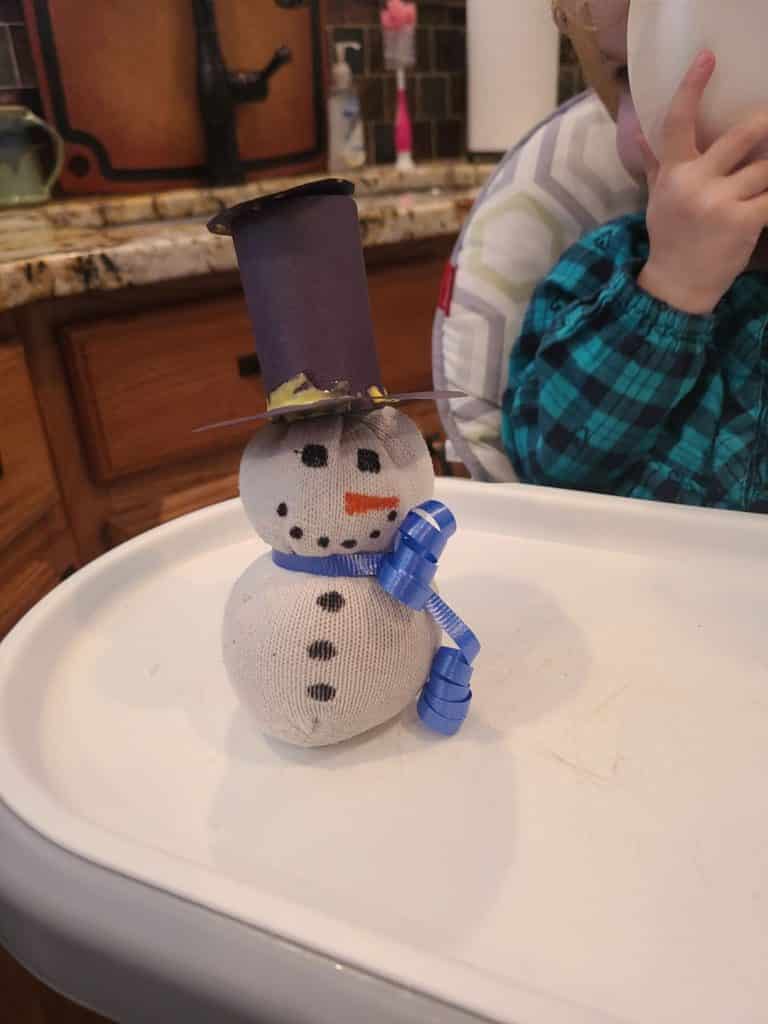
Tie another rubber band around the rice-filled sock to create a head for your snowman. Using the sock nub that you cut off as your guide for the top of the snowman, draw a face and buttons on your snowman with the sharpie and orange marker.
Related Post:
5 Easy Tricks to Sneak Nutrition in for your Toddler
4. Dress your Snowman
Tie a ribbon around the neck of the snowman as a scarf. Finally, make a hat for your snowman using the glue and black paper. To do this, cut out two circles (one smaller and one large). Cut a hole in the middle of the large circle. Cut a strip of paper out that is long enough to roll up as the body of the hat. Glue the rolled up portion to itself first and then glue it into the hole in the larger circle. Finally, glue the smaller circle on the top and allow to dry.
PRO TIPS: Add toothpicks for arms, use a doll hat rather than DIY, knit your own tiny scarf
5. Make your own snow in the final sensory activity!
To make your own snow simply mix baking soda with shaving cream! Start with about 2 cups of baking soda and slowly allow your toddler to mix in the shaving cream. Keep adding shaving cream until it starts to stick together and really resemble snow! You can let your toddler play in this snow for as long as you would like during this sensory activity! You can even build another snowman out of it if you want! When you are finished playing with it, add a few drops of Peppermint Essential Oil to your snow for a wonderous aroma!
6. Assemble your decoration pieces on a decorative plate or in a bowl.
This is a chance to use your imagination! Suggestions: make snowballs, make a second snowman out of your fake snow, make a snow angel in your fake snow, etc… The possibilities are endless!! Use your creativity!

Happy Crafting!!



36 Comments
Natalie
What a lovely and fun activity idea. I bet my son would enjoy making this too. Thanks for sharing this.